
Make your Own Chalkboard
April 7, 2013 | Nadine El Sayed 6
Chalkboards are fun. They just are. Whether your 10-year-old loves to draw and you want to foster his creativity, you find it handy to jot down grocery lists somewhere permanent or you just like scribbling on walls in the hallway, chalkboards add a touch of creativity, not to mention practicality to every home.
I am in the process of turning one of my walls to a massive chalkboard, or if I get bored, just a section of the wall that I will place a nice, vintage frame around it to give it a quirky edge. I could pin pictures and write captions underneath them, jot down something important to remember because I have a notoriously bad memory or simply have a little fun playing hangman with a friend. As a kid I used to write on any surface, well, as a teenager and in my early 20’s too if I am honest. I would write on notebook covers, paper holders, my jeans, class walls or even desks — yes, I am ashamed now for sabotaging many items at my school with my messy scribbles. So naturally, I grew up still having that urge to write over anything I come across, of course, as a woman in her late 20’s I can’t really do that anymore. So a chalkboard is a dream come true to me.
I couldn’t get a painter to do it for me, so I did some research, asked some architects to make the Egyptian conversions, and here is what I came up with:
How to make your own, colored chalkboard.
Things you will need:
– Painting tape to place around the area you will paint (known as Sherit Douko in Egypt).
– Fine sandpaper (Sanfara Na’ma, ask for the douko one).
– 1 Kilo Skip or Jotun washable white plastic paint
– Small sponge roll for paint
– 2-3 tablespoons concentrated plastic paint (Morakaz Alwan lel Bouya Plastic) of your desired color.
– 2 tablespoons Sika Tile Grout, or 1 tablespoon black cement
Steps:
- Stick the paint tape around the area you want to turn into a chalkboard, framing it neatly to avoid any mistakes.
- Use the sandpaper to prep the wall, making sure it is smooth and even.
- Wipe the area with a cloth to make sure no residue remains from the sandpaper.
- Mix the washable paint with 20% water and blend very well.
- Add the cement to the paint, sprinkling very small amounts at a time and mixing thoroughly to blend well.
- Add the plastic color of your desire, mixing small amounts until you achieve the color you want.
- Paint the first layer, using the sponge roll, and leave completely to dry.
- Paint the second layer.
- After the area is completely dried, use the sandpaper again then wipe with the sandpaper.
10. Remove the dust from the sandpaper with a dry cloth then wipe the area with a damp cloth.
11. Rub the entire area with a piece of chalk and then wipe off the dust.
12. You can either leave the area as is, or get an empty wooden frame to place it around it.
13. Use an inverted wardrobe or drawer knob that has one open side and glue it upside down near the chalkboard to store chalks. (You can find these at Hanimex in Nasr City.)
14. Get some colorful chalks and scribble away.
Editor’s note: If this is your first time to paint, try it out on the back side of a marble tile to make sure you got the hang of it before applying it on the wall.
Related Posts
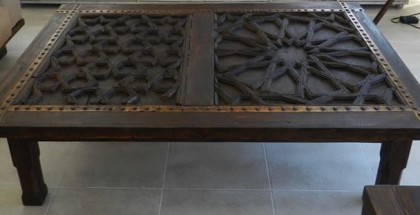
By Papousa Coffee Table October 27, 2013
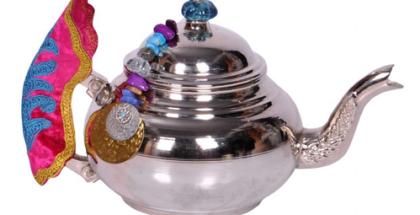
We Love: The Salameka Teapot April 14, 2013
Make your Home Smell Fresh All Year Round... March 6, 2014
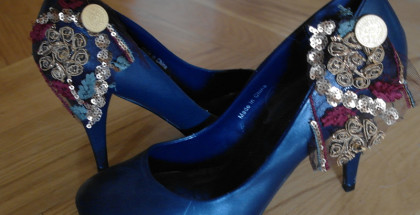
DIY – Glamour up Plain Shoes April 16, 2013
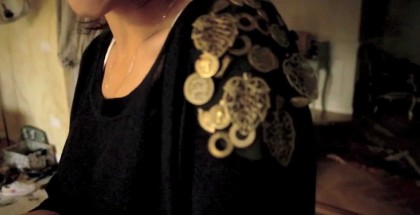
DIY – Jeweled Shoulder Patch March 21, 2013
Get into the festive spirit June 17, 2013
Glam up your Shoes May 26, 2013
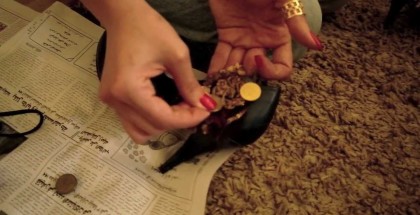
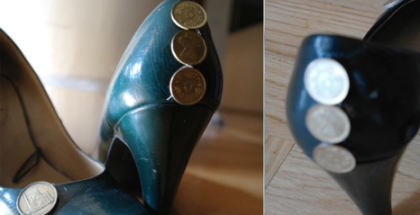
Balady Items that Will Transform your Wardrobe: The Coin... March 19, 2013
Behind Closed Doors December 27, 2014 | Nadine El Sayed
The Ikea Craze December 1, 2013
DIY – Patched up Jeans May 8, 2013

We Love: The Gardenia Flower April 22, 2013
-
Nadine … can you tell me is it white board or for chalks ??
and what is exactly the name of the paint?
-
Hi Mohamed,
Thank you for your comment, ask the supplier for 1 kilo of washable white plastic paint (bouya plastic beida and specify that it can be washed) and add to the kilo of bouya plastic 2-3 tablespoons concentrated plastic paint (morakaz alwan lel bouya plastic). The color of the morakaz alwan lel bouya plastic is whatever color you want your chalkboard to be, so if you want a green board, get green morakaz alwan.
Please do let me know if you need anything else or if it’s not clear,
Best,
Nadine -
Did it work with you , I am about to make it , please tell me wether it is good or not ?
-
That is just one of the best tips i came across online! Got to ask you this what if i do not want to do it on my wall can I apply these steps on wood?
-
Hi Nadine,
Thanks for this great article! I wanted to ask what is the wall area that this recipe covered?
Thanks


Comments